Getting started with ArcGIS SDK for JavaScript in React

If you're looking to incorporate ArcGIS maps and functionality into your React application, the ArcGIS SDK for JavaScript is a powerful tool that can help you do just that. Here's how to get started:
Install the ArcGIS SDK for JavaScript
First, you'll need to install the ArcGIS SDK for JavaScript in your project. Open up your terminal and navigate to your project directory, then run the following command:
npm install @arcgis/coreThis will install the ArcGIS SDK for JavaScript and all its dependencies.
Set up a Map Component
Now that the SDK is installed, you can create a Map Component in your React application. In this example, we'll create a simple map component that displays a basemap:
import React, { useEffect, useRef } from 'react'
import Map from '@arcgis/core/Map'
import MapView from '@arcgis/core/views/MapView'
import FeatureLayer from '@arcgis/core/layers/FeatureLayer'

const MapComponent = () => {
  const mapRef = useRef()

  useEffect(() => {
    const map = new Map({
      basemap: 'streets-navigation-vector'
    })

    const view = new MapView({
      container: mapRef.current,
      map: map,
      center: [-118.805, 34.027],
      zoom: 13
    })

    const featureLayer = new FeatureLayer({
      url: 'https://services3.arcgis.com/GVgbJbqm8hXASVYi/arcgis/rest/services/Trailheads_Styled/FeatureServer/0'
    })

    map.add(featureLayer);

    return () => {
      if (view) {
        // destroy the map view
        view.destroy()
      }
    };
  }, [])

  const mapStyle = {
    width: '100%',
    height: '100%',
    position: 'absolute',
    right: 0,
  };

  return (
    <div className="map-container" ref={mapRef} style={mapStyle} />
  );
};

export default MapComponent;
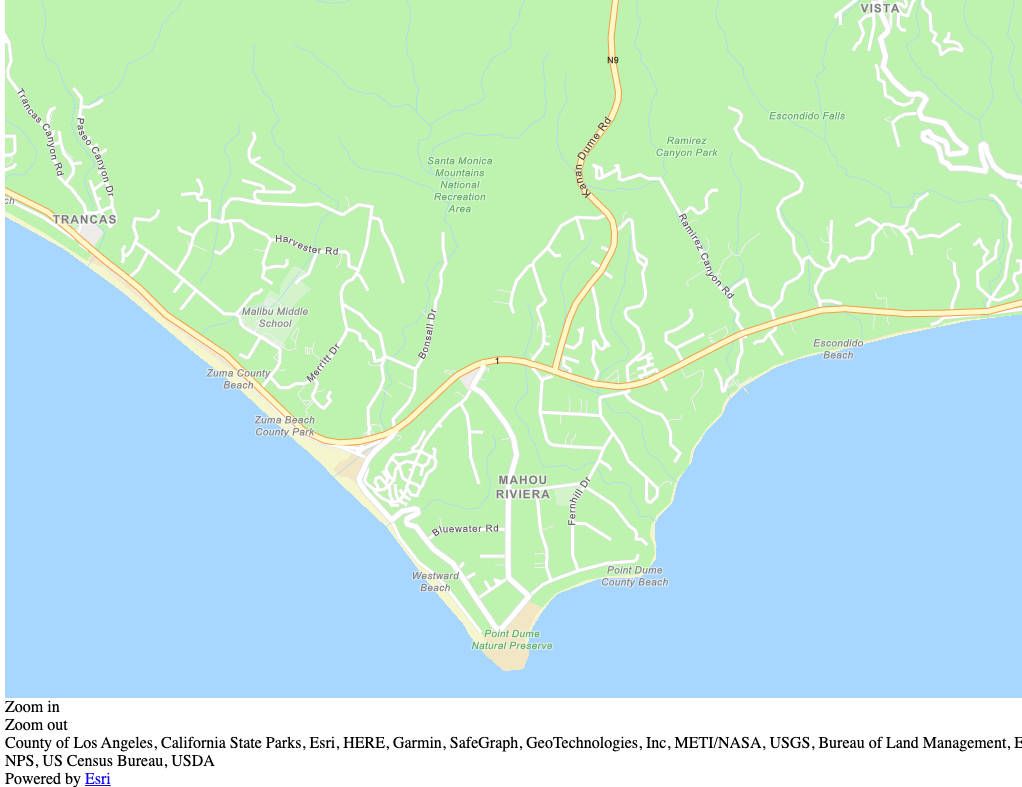
Here, we're using ES modules to import the necessary ArcGIS modules, then creating a Map object with a specified basemap. We're also adding a MapView to the div element with the map-container class, centering the map on a set of coordinates and zoom level, and adding a FeatureLayer that displays some trailhead markers.
Adding the Map Component into your App
Now that you have a Map Component, you can incorporate it into your React application by simply importing it and rendering it wherever you need it. Here's an example of how you might do this in your App.js file:
import React from 'react'
import MapComponent from './MapComponent'

const App = () => {
  return (
    <div className="app">
      <h1>My ArcGIS App</h1>
      <MapComponent />
    </div>
  )
}

export default App
In this example, we're importing the MapComponent we created earlier and rendering it within the App component.
Customise your Map
With the basic Map Component in place, you can now start customising your map by adding additional layers, changing the basemap, or adding functionality like popups or widgets. The ArcGIS SDK for JavaScript provides a wide range of tools and functionality to help you do this, so be sure to explore the documentation and examples to find the features you need.
Here's an example of how you can add labels to your map:
import LabelClass from '@arcgis/core/layers/support/LabelClass'
import FeatureLayer from '@arcgis/core/layers/FeatureLayer'

// add the label class to the feature layer
const featureLayer = new FeatureLayer({
  url: 'https://services3.arcgis.com/GVgbJbqm8hXASVYi/arcgis/rest/services/Trailheads_Styled/FeatureServer/0',
  labelingInfo: [new LabelClass({
    labelExpressionInfo: {
      value: '{TRL_NAME}'
    },
    labelPlacement: 'always-horizontal'
  })]
})

map.add(featureLayer)
The previous code is about this:
- Importing the
LabelClassandFeatureLayermodules. - Creating a
LabelClassand adding it to ourFeatureLayer. - Setting the
labelExpressionInfoproperty to the{TRL_NAME}attribute of our feature layer, which will display the trail names as labels. - Setting the
labelPlacementproperty toalways-horizontal, which ensures that our labels are always oriented horizontally.
Final Thoughts
While we've focused on React in this example, the ArcGIS SDK for JavaScript can be used with a variety of other frameworks like Vue.js and Svelte as well.